Web Scarping with JavaScript in Steam Website
Before this, I already wrote an article about web scraping before. But for this article, I will write about web scraping with JavaScript for Steam Website.
Getting the Data
As I said before, the first step of web scraping is to decide what data we want to get from the target.
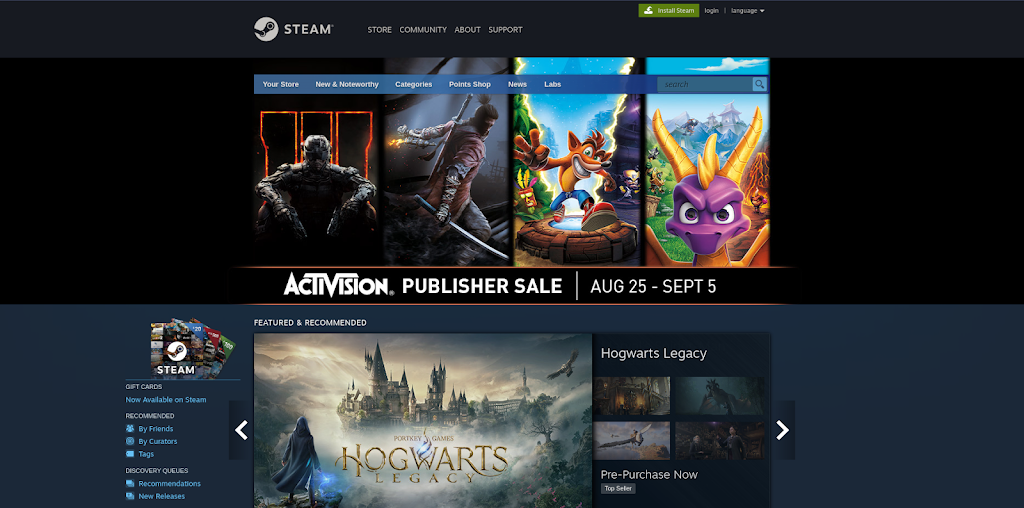
So we will see the website first. Let’s open the https://store.steampowered.com website first. Then let’s check the game with the Adventure RPG category.

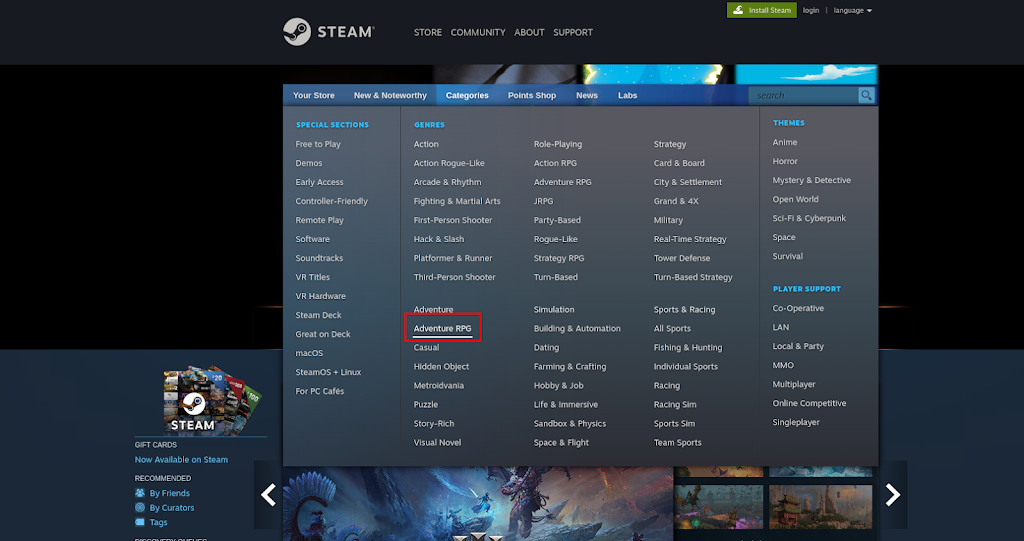
And we will get a page like this.

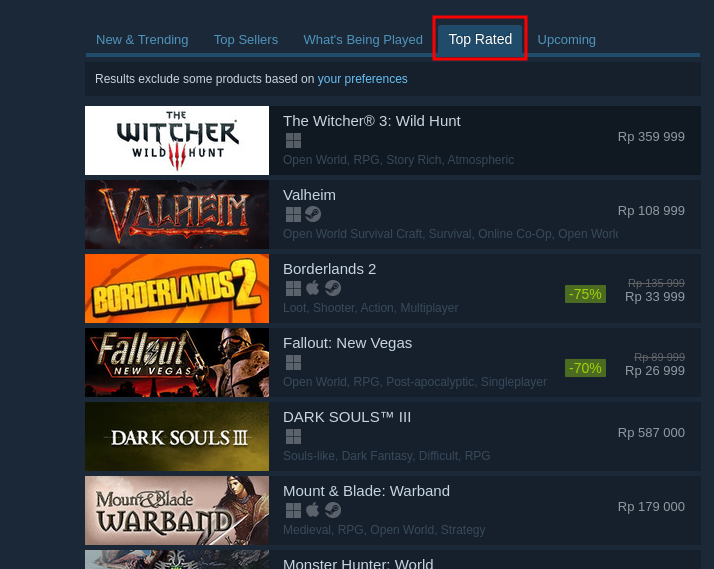
And we can choose the top-rated category to see the top-rated games first.
And we will see this request in the Network tab when we scroll down.
And for the response, we can see the response contains the HTML that is used for the list of games.

So we already know where we can get the data. The next step is creating code to scrape the data from the website. There are three main libraries that we will use, that is axios for creating requests to the server, fast-csv for creating the CSV file, and node-html-parser to parse the HTML texts.
So let’s create a project first with
npm init: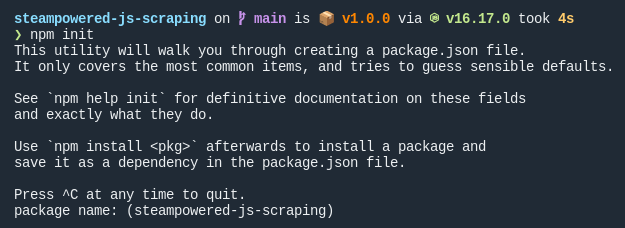
Then install the required library with this command:
npm install axios fast-csv node-html-parser Create a file named
main.js for the project. Then insert these codes into the file:const axios = require('axios');
const fastcsv = require("fast-csv");
const fs = require("fs");
var HTMLParser = require('node-html-parser');
Aside from the other library that I mentioned before, I also add library fs for saving the data to a file.
Then let’s create a function named
getData for getting the data from the website.
async function getData() {
}
After that, we can add some variables to help us form the algorithm to the
getData function:
async function getData() {
	let start = 0;
	const count = 15;
	const datas = [];
}
In this code, we define the
start that for saving the counter for how much the data we already received, count for knowing how much data we will get for each request, and datas variable for saving the data that we received. Then let’s add an iteration for requesting the data continuously to the
getData function:
async function getData() {
	.
        .
        .
	while (start < 1000) {
		start += count;
	}
}
We want to get around 1000 data so we doing the iteration 1000 times. Aside from that we also update the start variable so we do not get to an infinite loop.
Copy the URL from the request before and use axios to get the data from the website with these codes:
async function getData() {
    .
    .
    .
    while (start < 1000) {
        await axios
	.get(`https://store.steampowered.com/contenthub/querypaginated/category/TopRated/render/?query=&start=${start}&count=${count}&cc=ID&l=english&v=4&tag=&category=adventure_rpg`)
	.then((response) => {
	})
	.catch((error) => {
	    console.error(error)
	});
        .
        .
        .
    }
}
In this code, we use the
start and count variables before the URL, aside from that we also print the error message when something goes wrong. Because the request is shaped in an HTML string, then we can see the class for the HTML tag directly on the page.

After that, let’s add this code to get the DOM for the
results_html before:async function getData() {
.
.
.
while (start < 1000) {
await axios
.get(`https://store.steampowered.com/contenthub/querypaginated/category/TopRated/render/?query=&start=${start}&count=${count}&cc=ID&l=english&v=4&tag=&category=adventure_rpg`)
.then((response) => {
const html = "<div>" + response.data.results_html + "</div>";
const dom = HTMLParser.parse(html);
const games = dom.querySelectorAll(".tab_item");
games.forEach(game => {
});
})
.catch((error) => {
console.error(error)
});
.
.
.
}
}
From the response to the request, we get the
results_html field and wrap it into a div tag. Then we parse it with the HTMLParser object from the node-html-parser library before. And after that, we get all the elements with tab_item the class that contains the item for the games. And finally, we iterate through all the games for getting each data of the games. Finally, let’s get all the data from each of the games with these codes:
async function getData() {
	.
        .
        .
	while (start < 1000) {
		await axios
		.get(`https://store.steampowered.com/contenthub/querypaginated/category/TopRated/render/?query=&start=${start}&count=${count}&cc=ID&l=english&v=4&tag=&category=adventure_rpg`)
		.then((response) => {
			const html = "<div>" + response.data.results_html + "</div>";
			const dom = HTMLParser.parse(html);
			const games = dom.querySelectorAll(".tab_item");

			games.forEach(game => {
				const gameName = game.querySelector(".tab_item_name").textContent.trim();
				const gameLink = game.attributes.href.trim();
				const gameImg = game.querySelector(".tab_item_cap_img").attributes.src.trim();
				let gamePrice = "";

				if (game.querySelector(".discount_final_price")) {
					gamePrice = game.querySelector(".discount_final_price").text.trim();
				}

				let tags = game.querySelector(".tab_item_top_tags").childNodes;
				let gameTags = "";

				tags.forEach(tag => {
					gameTags += tag.text;
				});

				datas.push({
					Name: gameName,
					Link: gameLink,
					"Image Link": gameImg,
					Price: gamePrice,
					Tags: gameTags,
				});
			});
		})
		.catch((error) => {
			console.error(error)
		});
        .
        .
        .
	}

    return datas;
}
We will get the game’s name, link, image, price, and tag data. So like the HTML document that we see before, we can get the game’s name from the element with
tab_item_name class. Then get the game’s link from the game object itself because it already represents an a tag. We can get the game image’s link from the tag with tab_item_cap_img class and get the src attributes. And for the price itself, it can be existed or not so I check the discount_final_price class first if it exists, if not then we just ignore it. And for the game’s tags, we can iterate through tags with tab_item_top_tags class and append each of them to one variable. Finally, we can wrap it up and put it to the datas variable and return the datas variable. And we can check it by creating and using a function named main like this:
async function main() {
	const datas = await getData();

	console.log(datas);
}

main();
If we run the
main.js file with node main.js command, we can see the result like this: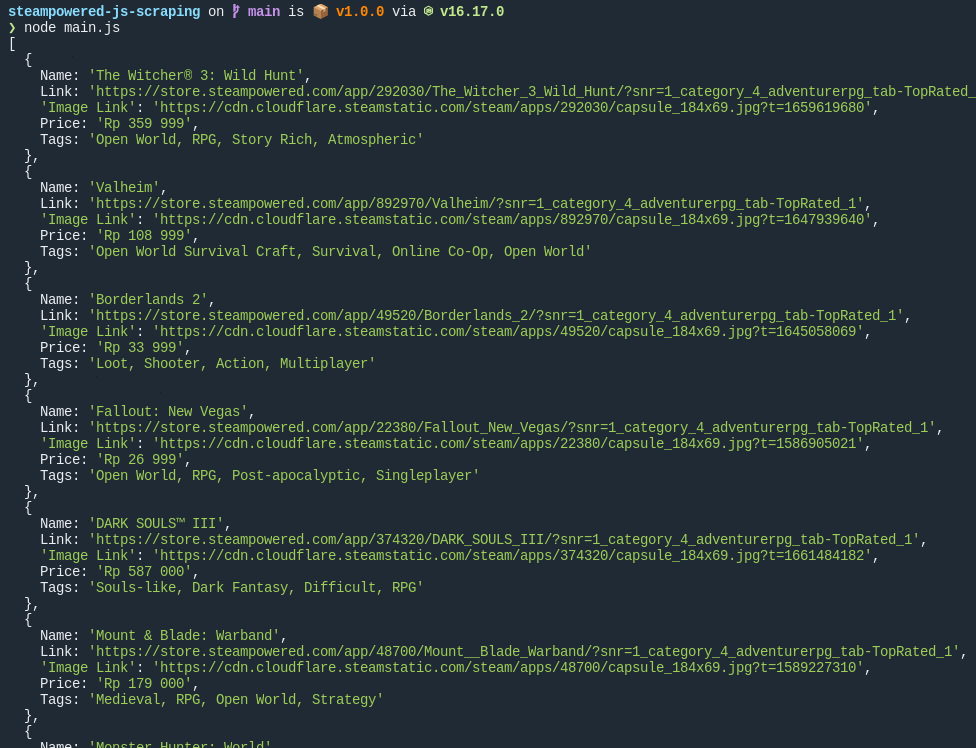
Putting the Data to CSV File
After getting the data from the website, let’s put the data into a CSV file so we can see the data anytime we want.
Let’s create a function named
generateCSV to generate the CSV that we needed.function generateCSV(datas) {
}
And we can add a code for open a stream to write the data into a file like this:
function generateCSV(datas) {
	const writeStream = fs.createWriteStream("data.csv");
}
And then, let’s add the codes for writing data to the stream like this:
function generateCSV(datas) {
	.
    .
    .
    fastcsv
	.write(datas, { headers: true })
	.on("finish", function() {
		console.log("Write to CSV successfully!");
	})
	.pipe(writeStream);
}
And if it is successfully written, then we can see the
Write to CSV successfully! message on the screen. Finally, let’s wrap it up and add the function call to the
main function.
async function main() {
	const datas = await getData();

	generateCSV(datas);
}
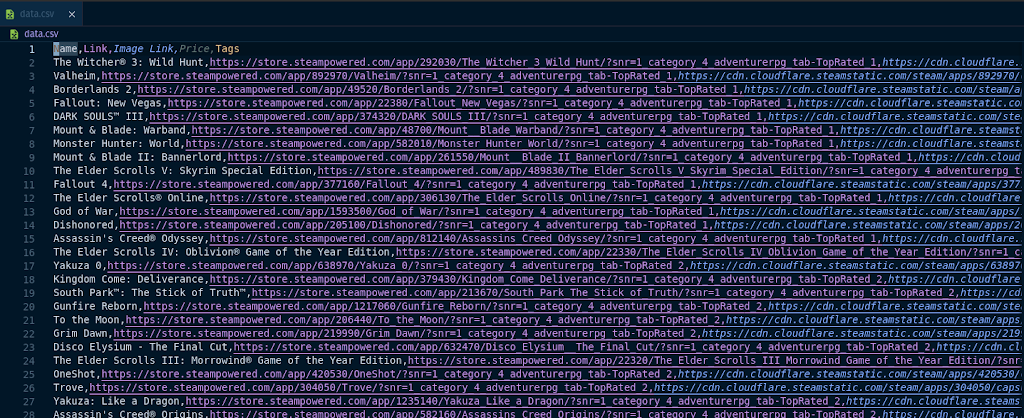
If we run the
main.js file, then the terminal will be like this: And we can see the content of the file already contains the data that we want.
And that’s all from me. Of course, we can improve the app more by adding some features, grabbing more useful data, presenting it in a better format, etc. And this is the link to the repository if you want to see the code directly.
If you want to discuss something just contact me on my LinkedIn.
Thank you very much and goodbye.
avenue17
I think, that you commit an error. Write to me in PM, we will talk.